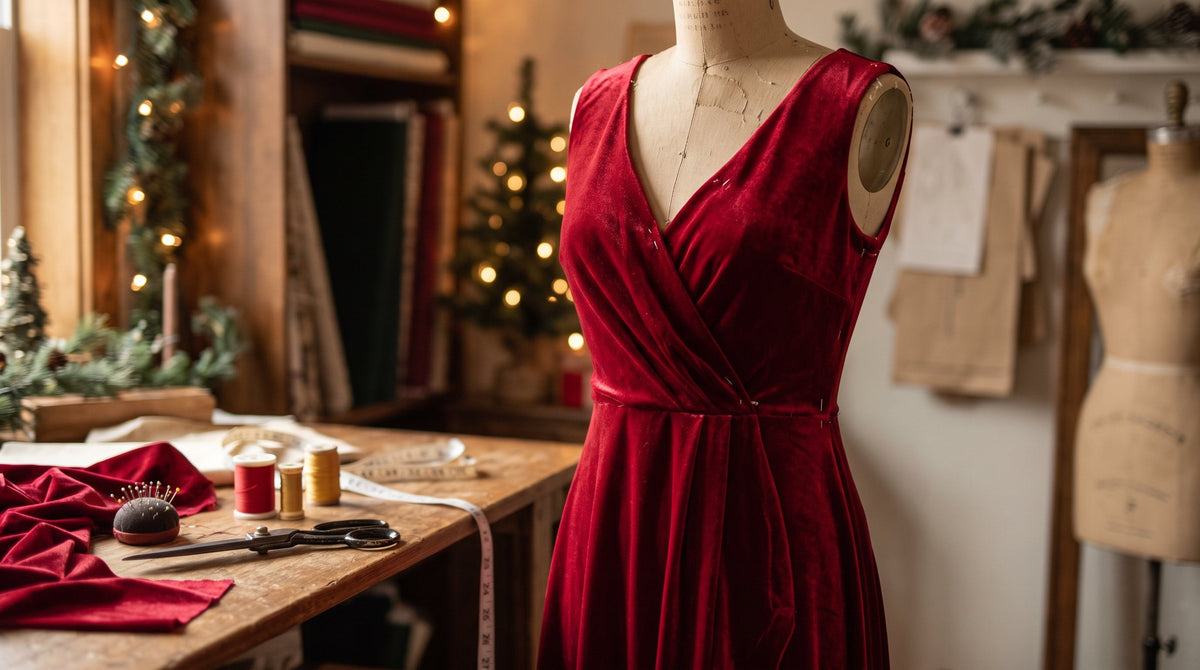
There is nothing quite as glamorous as stepping into a holiday party wearing a beautifully draped, luxurious velvet dress. But if you're a sawist, you might have heard the rumors: velvet can be intimidating to work with. Add stretch into the mix, and it sounds like a recipe for a tangled, slippery mess.
Don't let the rumors scare you! Sewing with stretch velvet is completely manageable and incredibly rewarding once you know a few simple industry secrets. In this ultimate guide, we’ll break down exactly how to cut, sew, and hem stretch velvet so you can create the holiday dress of your dreams with confidence.
1. Pre-Washing and Fabric Prep
Before you make a single cut, pre-wash your stretch velvet. Most stretch velvets are made from polyester and spandex, meaning they are machine washable! Wash it on a delicate, cold cycle and tumble dry on low to prevent your finished dress from shrinking later.
2. Mind the "Nap" (Direction of the Fuzz)
Velvet has a "nap," which means the little fibers all point in one direction. If you run your hand down the fabric, it will feel smooth one way and rough the other.
-
The Golden Rule: Always cut all your pattern pieces facing the exact same direction. For the richest, deepest color, the smooth side of the nap should point up towards your shoulders.
3. Ditch the Pins, Grab the Clips
Because stretch velvet is thick and slippery, traditional sewing pins can leave permanent indentations or cause the fabric layers to slide apart. Instead, use sewing clips. Place them closely together (every inch or so) to keep your seams perfectly aligned.
4. Choose the Right Needle and Thread
Since stretch velvet is a knit fabric, you need a needle that pushes between the fibers rather than piercing and breaking them.
-
Needle: Use a Stretch Needle or Ballpoint Needle (Size 75/11 or 80/12).
-
Thread: A high-quality 100% polyester thread is best because it has a slight bit of natural stretch, unlike cotton thread which can snap under tension.
5. Essential Sewing Machine Settings
You don't need a fancy serge to sew stretch velvet; a standard sewing machine works beautifully if you use the right settings:
-
The Walking Foot: If you have a walking foot attachment, put it on! It feeds the top and bottom layers of the fabric through the machine at the exact same time, preventing that dreaded velvet "creep" where one layer ends up longer than the other.
-
The Stitch: Use a narrow zig-zag stitch or a "lightning bolt" stretch stitch. This allows the seam to stretch with your body. If you use a straight stitch, the thread will pop the moment you sit down.
6. Ironing (Proceed with Extreme Caution!)
Never press a hot iron directly onto the right side (the fuzzy side) of velvet, or you will crush the nap and leave a permanent shiny iron mark. Instead, iron from the wrong side (the back) using a lot of steam, and place a fluffy towel underneath the fabric so the velvet pile has somewhere soft to sink into.
7. Hemming Your Dress
The easiest and most professional-looking way to hem a stretch velvet dress is using a twin needle. It creates two straight lines of stitching on the front and a stretchy zig-zag on the back. Alternatively, you can use a blind hem stitch by hand for a completely invisible, couture finish.